

If you’re revisiting my blog from last week, you may notice there are some differences. I spent all yesterday pulling together ideas I’ve been dreaming about, and I’m absolutely in love with the results! That being said, there are still a ton of things I want to work on, but baby steps, right?
Since it took me 12 million hours to find all of the information and put it together, I thought I would write a post today about what I did. Hopefully I can save all of you guys some time and trouble if you decide you want to do some renovations of your own!
1. Updating your header

Headers are important because they are the first thing people see when they come to your blog. Depending on what your blog is about, and what you want aesthetic you want to portray through your blog, these can be a lot of fun to design! For me, I really wanted a “journal” like feel because that is, more or less, what this is. I love minimalism and was excited to use the same font that I have tattooed on my arm! The arrow that is underneath the font I sketched in my notepad, then scanned, then opened in photoshop and added to my original text piece. Note: Since the arrow is so thin, it was hard to crop it down the original drawing. If I had had a pen tablet I think it would have been a lot easier and faster.
2. Creating a background that stands out
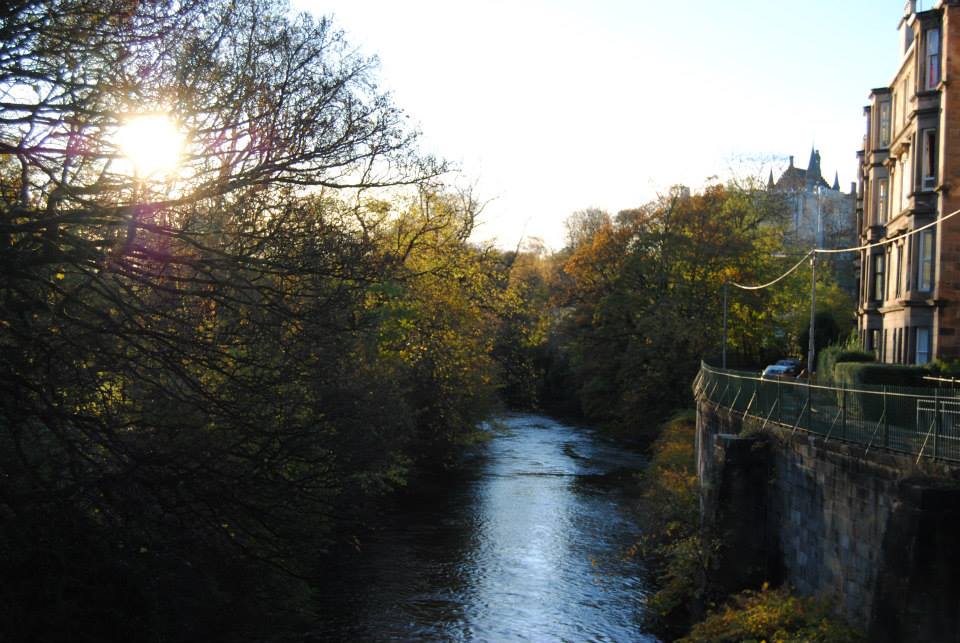
Honestly, I watched so many tutorials on finding the perfect background for your blog. I was really excited about creating the perfect background using all kinds of technology but, in the end, it was a picture of Scotland that stole my heart. Here’s one of my favorite non-photoshop needed tutorials I found for designing your own blog background, if you do decide designing is the direction you want to go in!
3. Adding Social Media Buttons
![]()
![]()


Holy hell, this took me four hundred years to figure out. Mainly because everywhere online that I looked told me that the only way to have the cute little social media icons was to buy a blog domain, buy a blog upgrade or promise my firstborn child to the devil. Since I wasn’t willing to do any of the above options, I decided to keep looking until I stumbled across this glorious tutorial. Even though it’s for Blogger, the same idea works for Worpress, and if you’re having trouble, you can always go make a free Blogger account and then just transfer the HTML. To find the “buttons” themselves, you have a few options:
1. Design the yourself on Photoshop – I would keep them at about 50 pixels x 50 pixels
2. Buy them on Etsy (they send you the files after you buy them online)
3. Google “Free Social Media Blog Icons.” Cut and paste.
Here’s the Tutorial I used:
4. Find the perfect profile picture
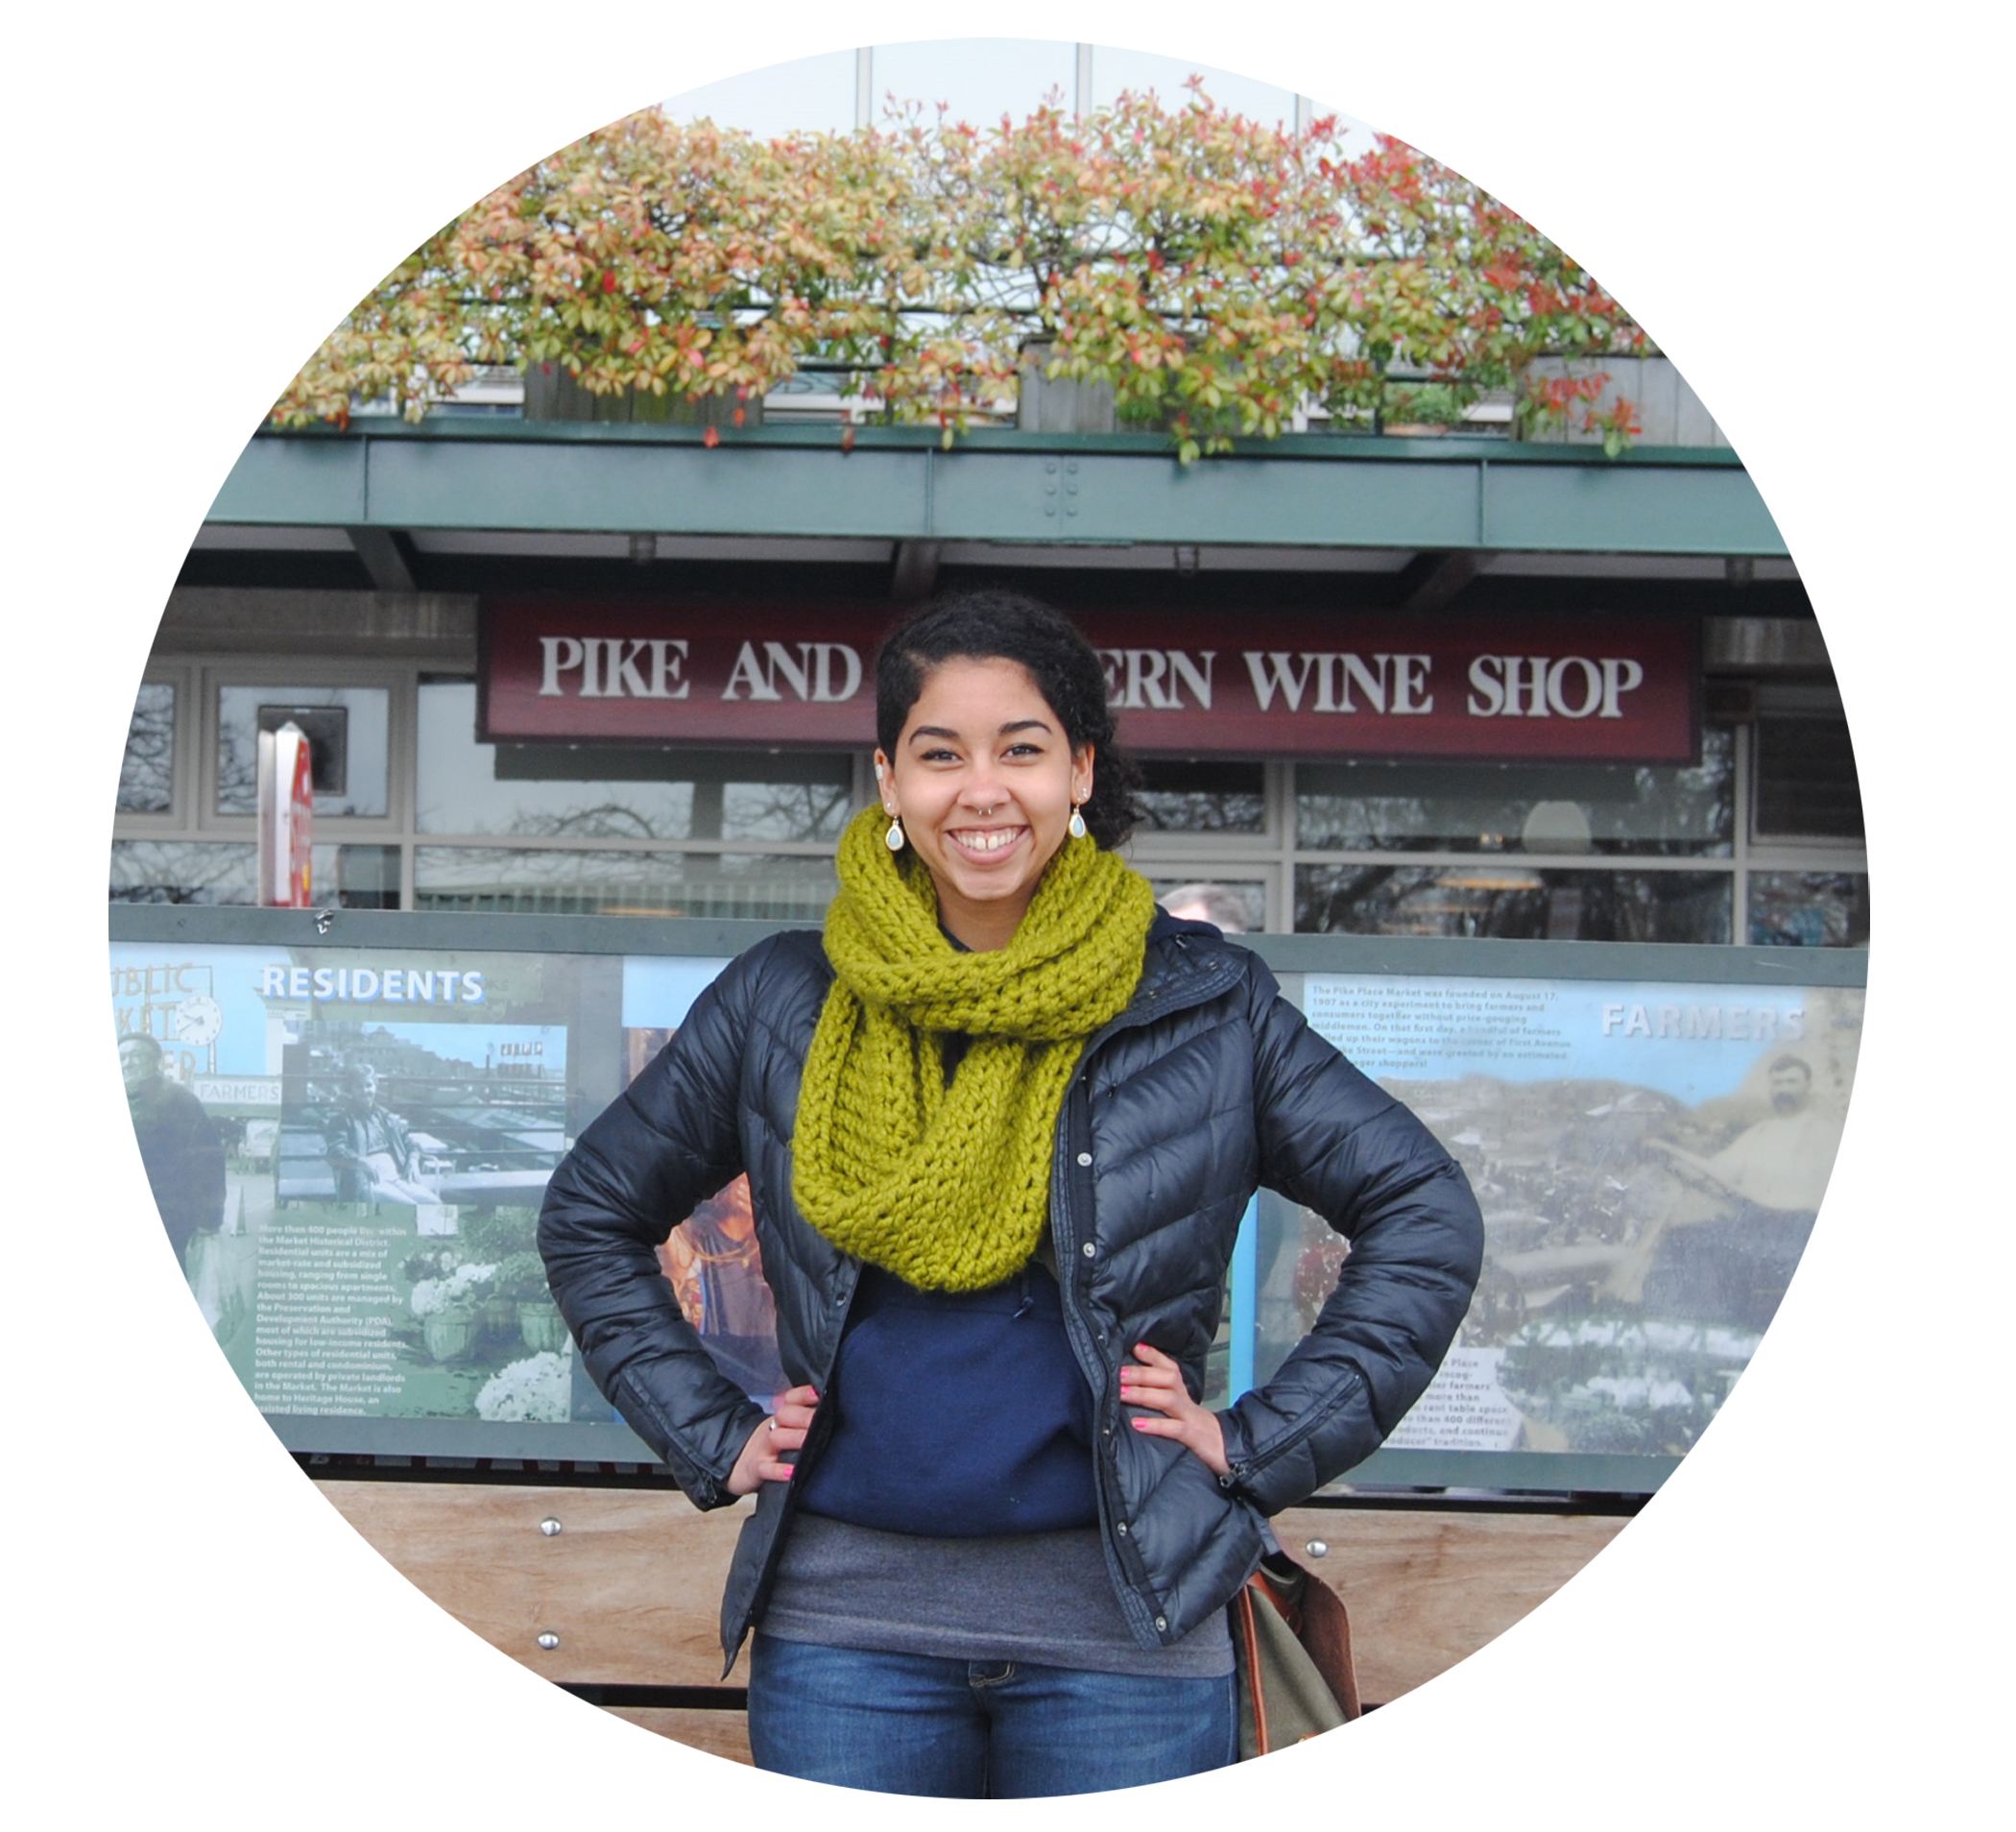
It was pretty hard for me to find a decent picture to put up on my blog because I don’t necessarily have that many of myself, standing alone, posing. Luckily, I recently went galavanting around the city with my best friend, and she stole my camera a couple of times, resulting in the picture I now have. In order to get a square picture into a circle I used Photoshop and this tutorial.
5. Choosing the perfect template

First go to your left hand Dashboard>Appearance>Template
Honestly, WordPress has a pretty terrible selection of templates to choose from compared to what they used to have. Most of the good ones cost over $80 and I’m just not willing to spend that much money on a blog (especially since I’ll probably change my mind as soon as I buy it and want something else). Instead, I played around with each of the customizable features for the free templates, before finally deciding to use the one I have now. In addition, I did kind of spoil myself and spend $30 so that I could change the background and the fonts to what I wanted. The nice thing about WordPress is that you can play around with what this might look like before you make the commitment to pay anything. The $30 is a once a year fee. I rationalized it because I know I’m going to be spending a lot of time on this blog over the next year(s) and I wanted something I could take pride in.
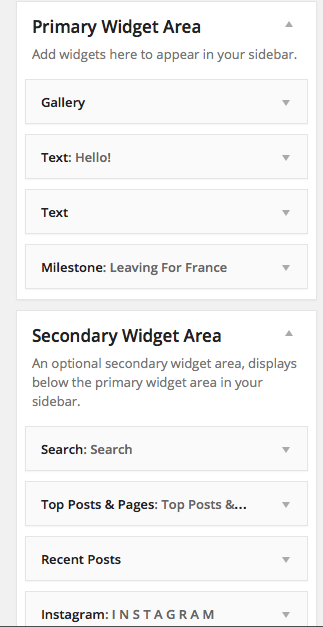
6. Widgets!
Widgets (or the little things you find in your side bar) are your absolute best friend. Playing around with these can allow you to add HTML, picture albums, links to your Twitter or Instagram and all kinds of other goodness. Here’s a picture of what my widget bar now looks like, so you have an idea of what I’m using.

7. Organize Your Blog
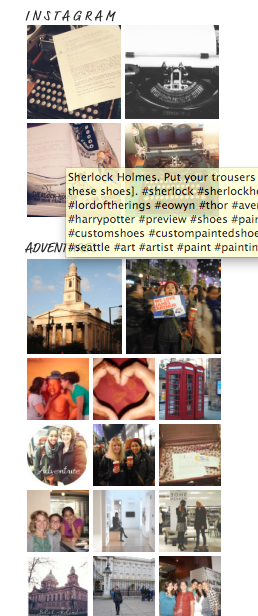
A lot of what I did yesterday was just taking the time to organize and make sure all the little details were to my liking. For instance, I had pictures on the side bar before but they were in a staggered messy bunch that I now (hopefully!) straightened out to be more appealing to people who are looking through them. I honestly believe the best blogs are the ones that just pay attention to detail.

Yay! This is super helpful.
LikeLike