Why I’m So Obsessed With My Heritage

You have to understand something to understand the answer to the headline of this blog post.

I’ve always been an outsider. I grew up in neighborhoods where I didn’t look like anyone, I went to family reunions where I didn’t look like anyone, I went to a school where I didn’t look like anyone, and I went to a church where I distinctly remember there being ONE person who looked like me…and it wasn’t a small church.

I grew up constantly being told what and who I didn’t look like…essentially I grew up being told what I was not. People were constantly stripping my identity from me. I couldn’t possibly be her daughter because I didn’t look like her. I couldn’t possibly be her sister because I didn’t look like her. I couldn’t possibly belong in the Nordic club at college because there’s no way I’m part Scandinavian. “He can’t be your brother, he’s way lighter than you.”

The best way I can explain my feeling growing up is the scene in the Disney animated movie Cinderella. You know that scene right before the ball when her step-sisters rip her newly made gown from Cinderellas body? Yeah, that. Despite wanting to belong, to celebrate and establish her place in the world she’s rejected in a very real and tangible way. To me, the verbal refutation of who I was felt just like that. Every time someone expressed how there was no way I wasn’t adopted I felt like the pearls had been ripped from my neck and lay scattered across the ground.

For 19 years I swam in the grief that bubbles around being constantly told who you’re not. While I had a very supportive mother who tried to verbally bat away the sentiments that just about everyone seemed to have, there’s only so much one person can do (especially when they’re not by your side).

It wasn’t until I was in my mid twenties that I said “Fuck it.”
I was going to decide who I was.
I was going to decide what I did with my life, and if I was ‘too light’ to be in one and ‘too dark’ to be in the other—I would build my own culture.

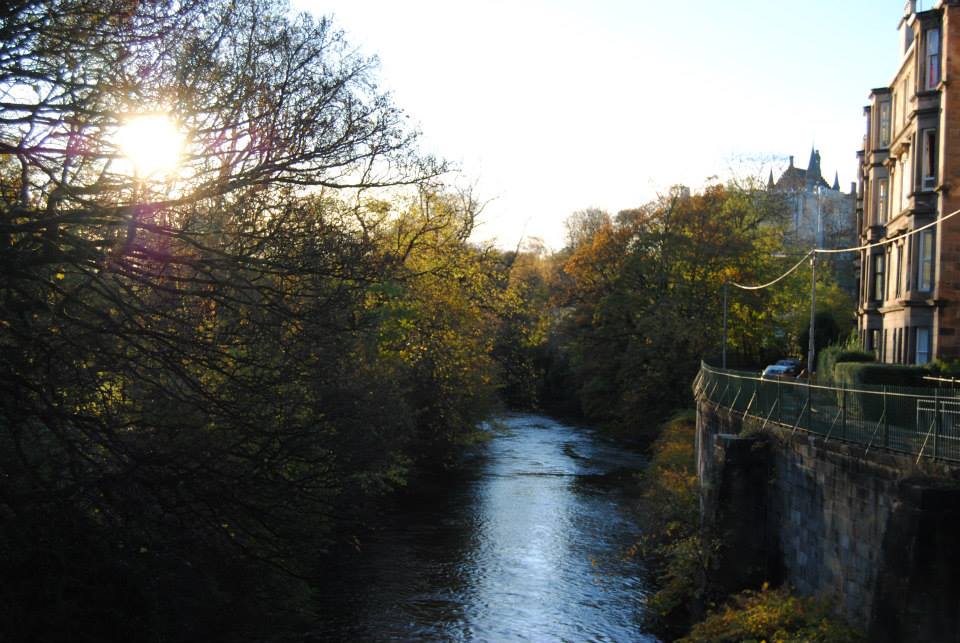
This was a large part of why I started traveling. Because when I was standing on the cliffs of Ireland there was no living creature, on this planet or another, who could argue with the way my heart sung. My blood knows where I belong. It pulses differently when I’m home. And home is not a building. It’s a song, a taste, a smell…it’s seeing art that dates back hundreds of years and somehow completely understanding the mindset of its makers. Because they think the same way I do.

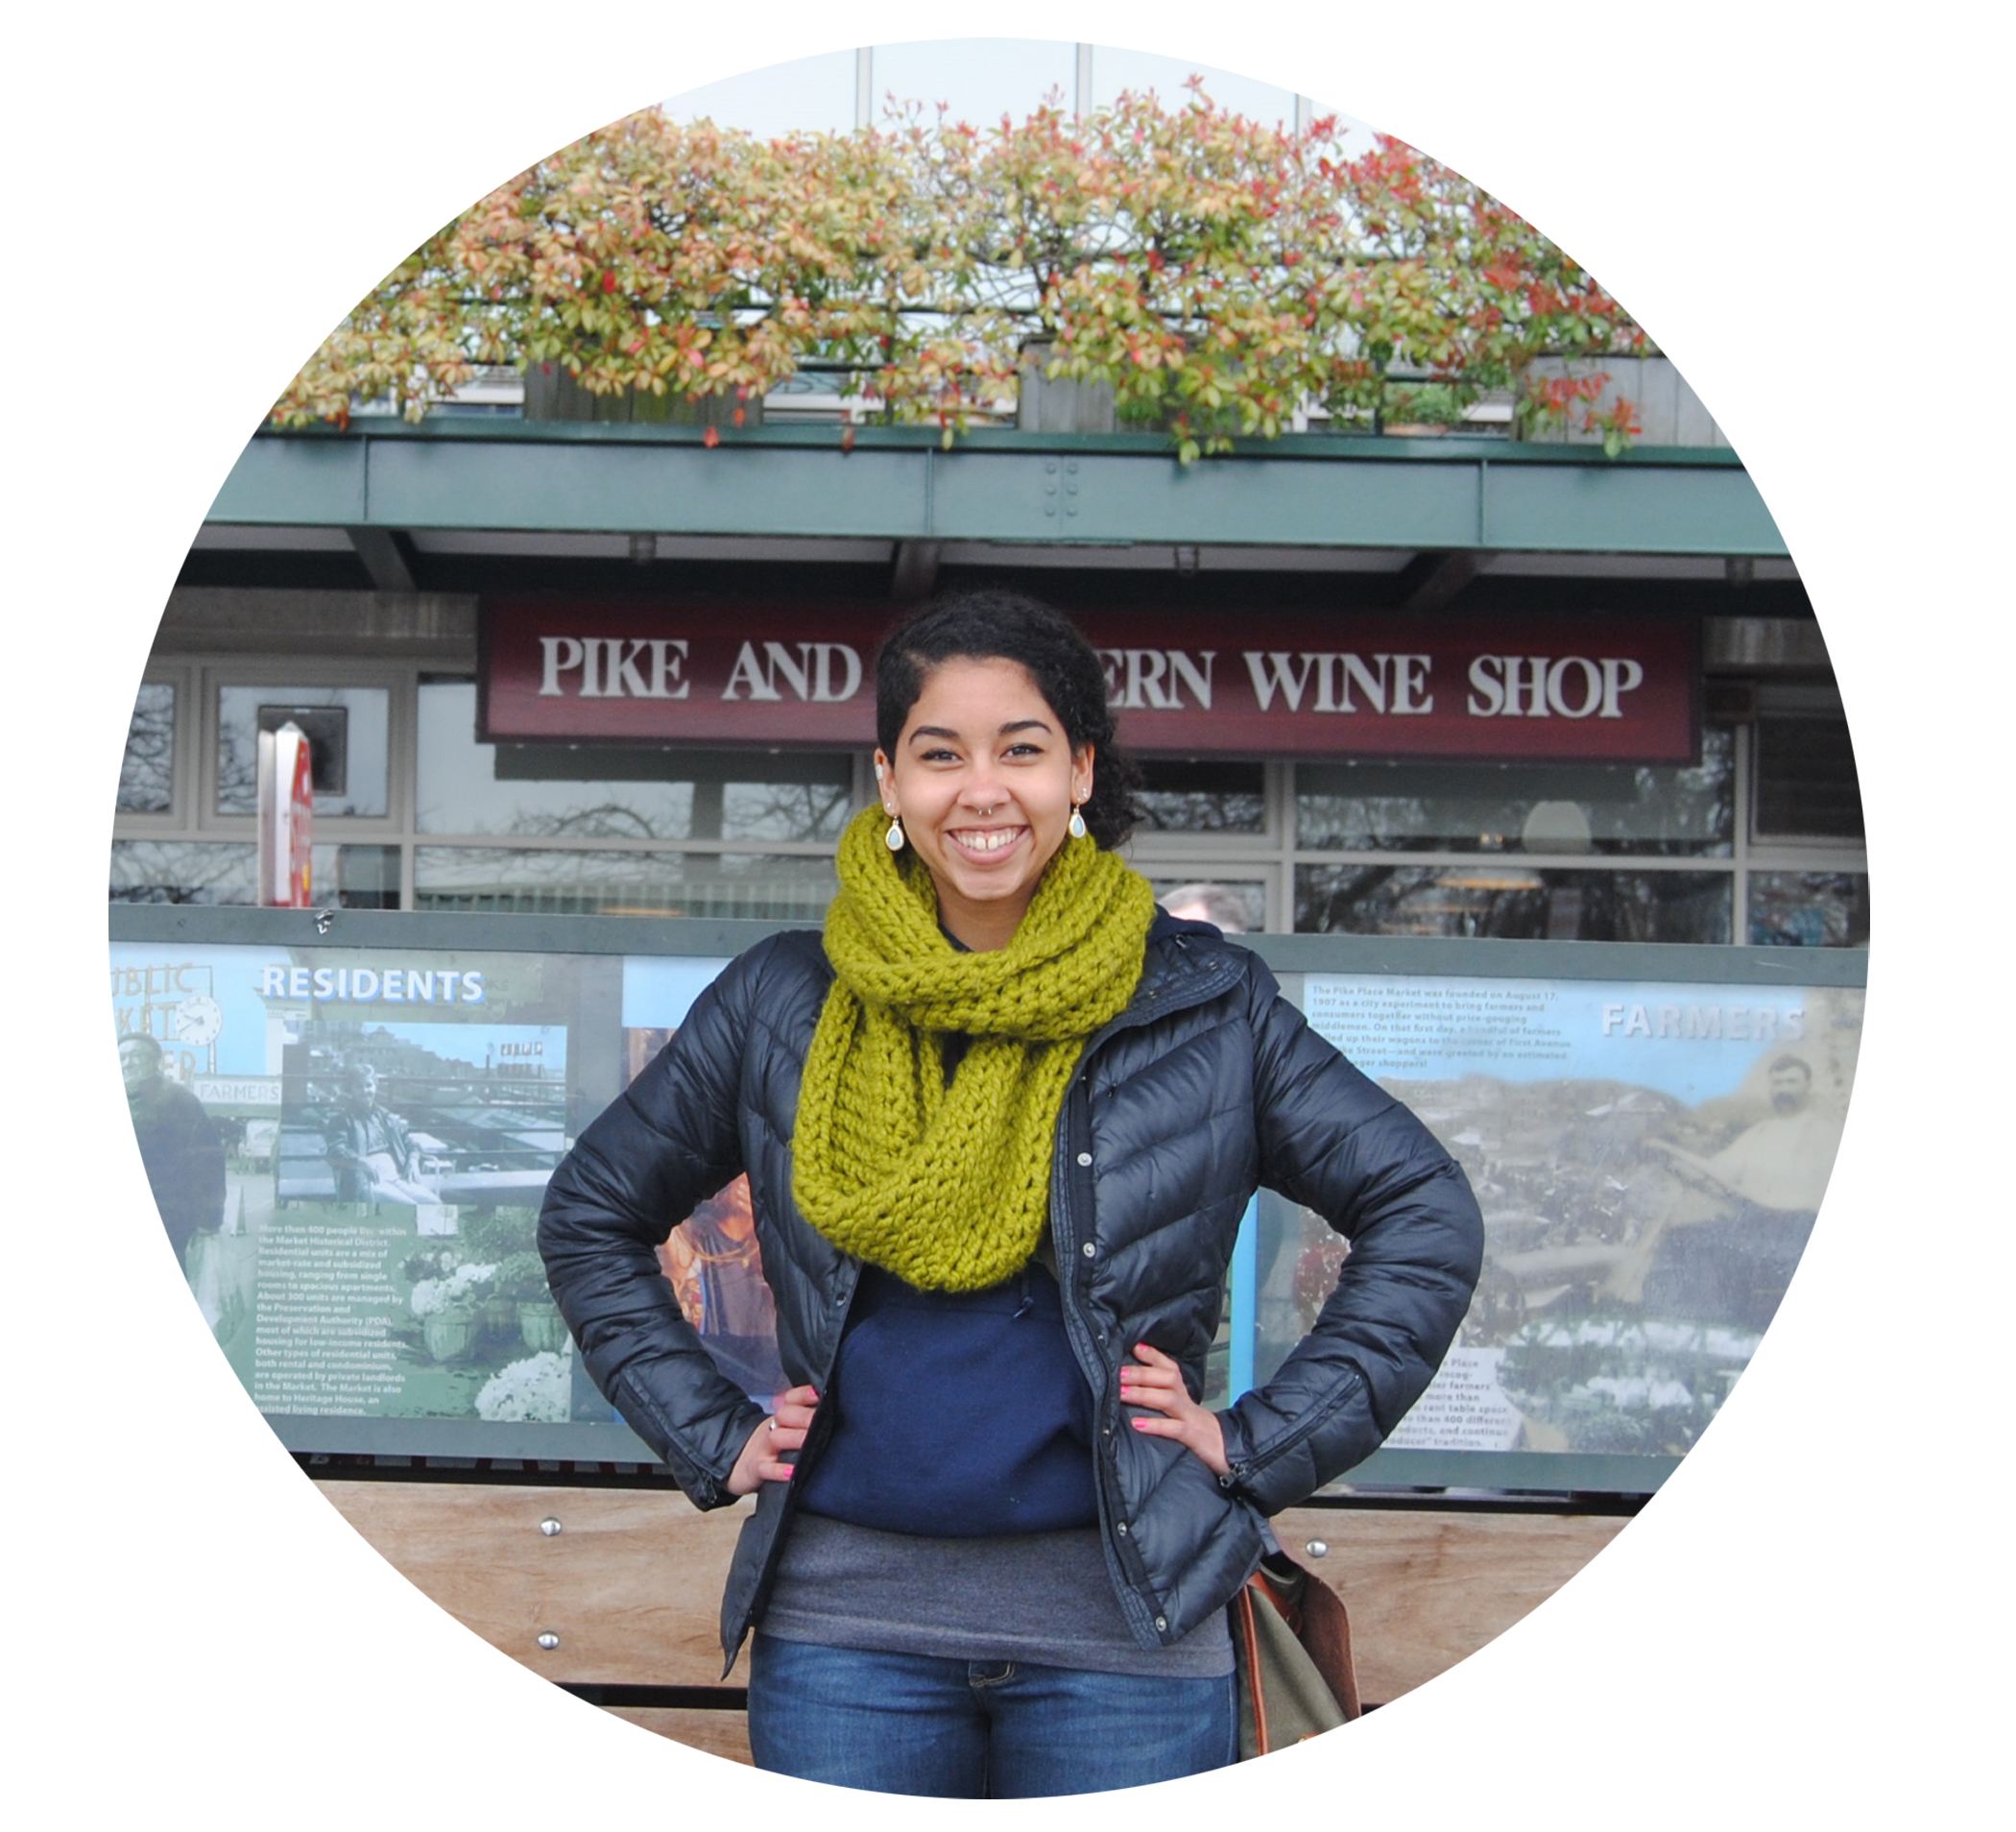
I made the decision five years ago to travel to each country I knew I had an ethnic tie with and this year I completed that journey with my trip to Norway. It could honestly not have been a better ending with such a serene time exploring the beauty of Oslo. But now I want to dig deeper. I want to know more.

A lot of people are surprised when I take classes to learn the traditional methods of my ancestors but I think it’s so incredibly important. I need to reach back in as tangible of a way as I can. I need to feel the heart beat of generations through our art, stories, food and writing. It would be impossible for me to fully describe how it feels like I’ve found a missing puzzle piece each time I dig deeper into my cultural heritage…but I will tell you one thing.

I don’t know if, like me, you feel like an outsider. But if you do, don’t ever let other people define you. Build your own legacy. Weave your own narrative and embrace those things that make your heart soar. I know it sounds corny, but you might be the only person listening to that exact frequency. And if you follow it? Well, there’s a good chance other people won’t understand why. They won’t understand why you feel the need to cook traditional meals, learn how to make folk art, or dance to the same songs that have inspired generations.

But that’s okay.

It’s okay for no one else to get it.

The reason that I’m so inspired and passionate about embracing my cultural heritage is because I refuse to believe that I’m alone. I refuse to accept a narrative of “I can’t”. I will not live among the restrictions that others have told me about who or what I can be. And with every look of shock as I walk into a class, visit a country, speak a language or know more about a country’s history than those that live in it, I choose to grin. Because this is my story. And I’m going to make it a hell of a good one.


Seven Ways To Renovate Your WordPress Blog

Screen Shot 2014-05-05 at 12.04.16 AM

If you’re revisiting my blog from last week, you may notice there are some differences. I spent all yesterday pulling together ideas I’ve been dreaming about, and I’m absolutely in love with the results! That being said, there are still a ton of things I want to work on, but baby steps, right?

Since it took me 12 million hours to find all of the information and put it together, I thought I would write a post today about what I did. Hopefully I can save all of you guys some time and trouble if you decide you want to do some renovations of your own!

1. Updating your header

cropped-darkkhorsedesigns2.png

Headers are important because they are the first thing people see when they come to your blog. Depending on what your blog is about, and what you want aesthetic you want to portray through your blog, these can be a lot of fun to design! For me, I really wanted a “journal” like feel because that is, more or less, what this is. I love minimalism and was excited to use the same font that I have tattooed on my arm! The arrow that is underneath the font I sketched in my notepad, then scanned, then opened in photoshop and added to my original text piece. Note: Since the arrow is so thin, it was hard to crop it down the original drawing. If I had had a pen tablet I think it would have been a lot easier and faster.

2. Creating a background that stands out

Glasgow, Scotland
Glasgow, Scotland

Honestly, I watched so many tutorials on finding the perfect background for your blog. I was really excited about creating the perfect background using all kinds of technology but, in the end, it was a picture of Scotland that stole my heart. Here’s one of my favorite non-photoshop needed tutorials I found for designing your own blog background, if you do decide designing is the direction you want to go in!

3. Adding Social Media Buttons

Facebook Icon

Instagram IconPintrestIcon TwitterIcon EmailIcon


Holy hell, this took me four hundred years to figure out. Mainly because everywhere online that I looked told me that the only way to have the cute little social media icons was to buy a blog domain, buy a blog upgrade or promise my firstborn child to the devil. Since I wasn’t willing to do any of the above options, I decided to keep looking until I stumbled across this glorious tutorial. Even though it’s for Blogger, the same idea works for Worpress, and if you’re having trouble, you can always go make a free Blogger account and then just transfer the HTML. To find the “buttons” themselves, you have a few options:

1. Design the yourself on Photoshop – I would keep them at about 50 pixels x 50 pixels

2. Buy them on Etsy (they send you the files after you buy them online)

3. Google “Free Social Media Blog Icons.” Cut and paste.

Here’s the Tutorial I used:

4. Find the perfect profile picture

BlogProfile

It was pretty hard for me to find a decent picture to put up on my blog because I don’t necessarily have that many of myself, standing alone, posing. Luckily, I recently went galavanting around the city with my best friend, and she stole my camera a couple of times, resulting in the picture I now have. In order to get a square picture into a circle I used Photoshop and this tutorial.


5. Choosing the perfect template

Screen Shot 2014-05-04 at 11.49.25 PM

First go to your left hand Dashboard>Appearance>Template

Honestly, WordPress has a pretty terrible selection of templates to choose from compared to what they used to have. Most of the good ones cost over $80 and I’m just not willing to spend that much money on a blog (especially since I’ll probably change my mind as soon as I buy it and want something else). Instead, I played around with each of the customizable features for the free templates, before finally deciding to use the one I have now. In addition, I did kind of spoil myself and spend $30 so that I could change the background and the fonts to what I wanted. The nice thing about WordPress is that you can play around with what this might look like before you make the commitment to pay anything. The $30 is a once a year fee. I rationalized it because I know I’m going to be spending a lot of time on this blog over the next year(s) and I wanted something I could take pride in.

6. Widgets!

Widgets (or the little things you find in your side bar) are your absolute best friend. Playing around with these can allow you to add HTML, picture albums, links to your Twitter or Instagram and all kinds of other goodness. Here’s a picture of what my widget bar now looks like, so you have an idea of what I’m using.

Screen Shot 2014-05-04 at 11.33.24 PM

Screen Shot 2014-05-04 at 11.33.41 PM


7. Organize Your Blog

Screen Shot 2014-05-04 at 11.51.29 PM

A lot of what I did yesterday was just taking the time to organize and make sure all the little details were to my liking. For instance, I had pictures on the side bar before but they were in a staggered messy bunch that I now (hopefully!) straightened out to be more appealing to people who are looking through them. I honestly believe the best blogs are the ones that just pay attention to detail.